MathBait™ Multiplication
Grow A Tree
Share this resource!
These aren't any factor trees! Combine math and art as students construct fun and interesting flora to bring numbers to life.
Details
Resource Type
Activity
Primary Topic
Primes & Factoring
Unit
7
Activity
19
of
22
In this activity, students will learn how to make a factor tree. This activity is intended to be an artistic display while also allowing students to practice and expand on their ability to factor values.
Previously, students used factoring and substitution to find tricky products. For instance, when attempting to factor 90, they may recognize 90 is a number said when skip counting by 5, but were unable to identify what times 5 would produce 90. By using a known fact such as 9×10=90, expanding into 3×3×2×5=90, and then combing the remaining factors to obtain 3×3=9 and 9×2=18, they could determine 18×5=90.
Now, our goal will be to find the prime factorization of any value. Students will use the same strategies to create their factor trees.
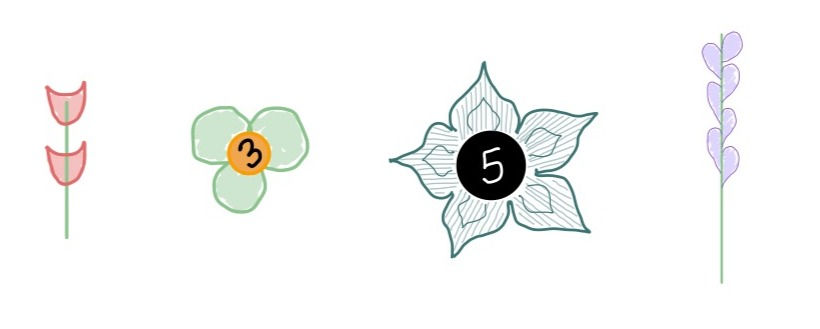
Begin by providing students with a blank sheet of paper (non-lined) and ask them to design a flower for each prime number under 10. Encourage students to determine the primes independently. If help is needed, students may refer to their prime quilt created in a previous lesson. This is a great activity to allow students to be creative! They may design any type of "flower" and specifically play to their interests. Students may design their prime flowers to match the number of petals, or write the prime number the flower represents in their design, or simply have a key that displays each flower and their corresponding prime.

As this activity can be time-consuming, here are a few ideas for teachers and parents to condense the activity.
Print out basic flower shapes for class ahead of time. Rather than design each flower, students can simply pick the flowers they'd like to use from the existing supply.
Use stickers! Grab a set of flower stickers from the dollar store and allow students to use stickers for their trees.
Integrate technology. Many applications will allow students to cut and paste or duplicate. For instance, creating a Google Slide deck with "flowers" using polygons and sharing with students. Here is a very basic setup for using Google Slides.
Next, assign students a number. We recommend providing each student with a unique value, this will allow a various array of factor trees that can be used for a Gallery Walk, be added to student portfolios, and displayed around the room. Another alternative is to create small groups with the same value. This will allow students to compare their trees and see how different factorizations lead to the same result. We recommend selecting values with at least 4 prime factors, increase the number of prime factors as students become more proficient.
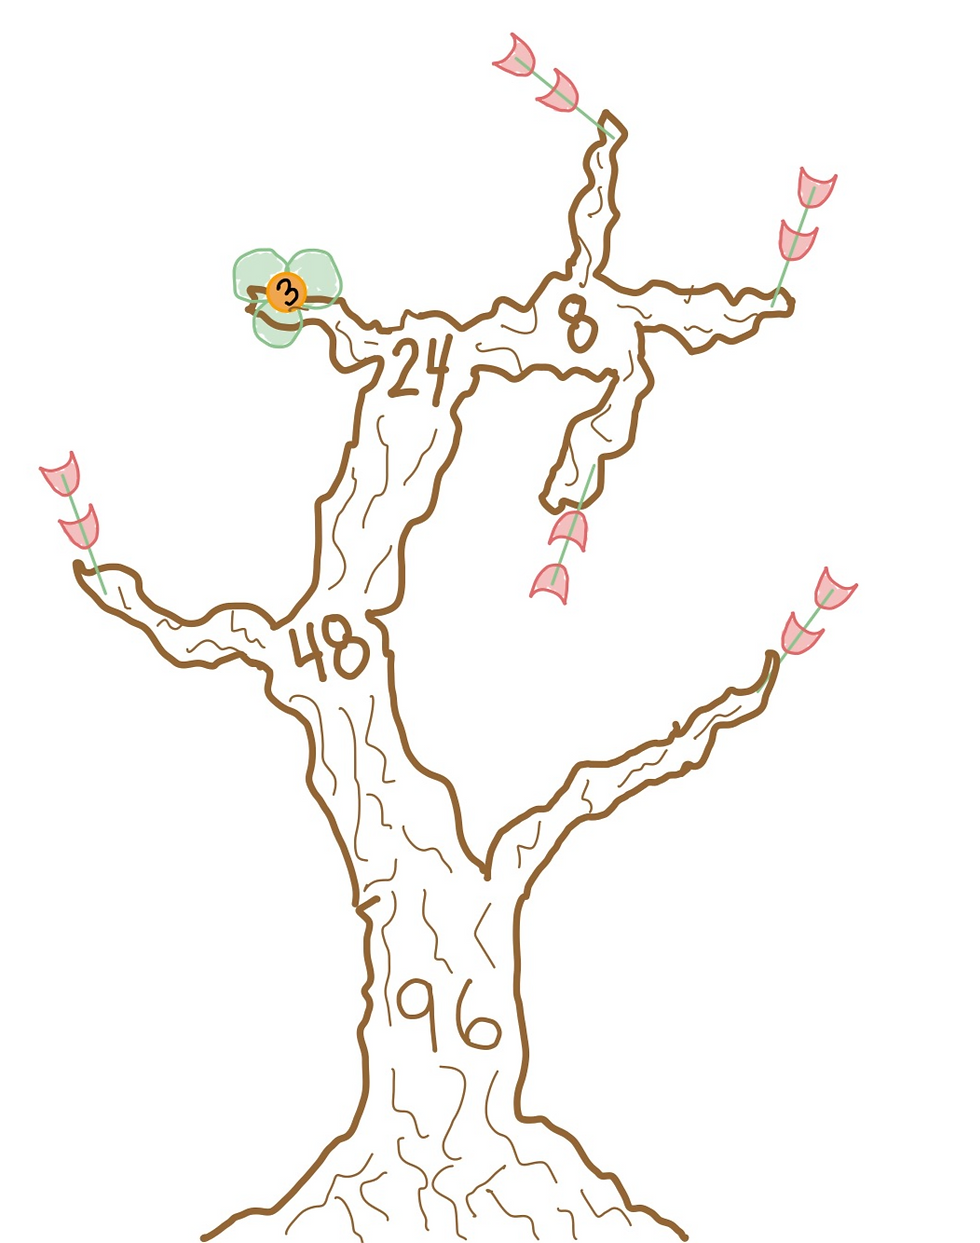
Begin with a tree trunk, students should write their assigned tree number on the trunk. Next, students begin branching. They should determine a multiplication fact they know about their given number and use this to branch their tree. If any of their factors are prime, they will use their flower; for any composite (not-prime) values, students will create a new branch.
Once each branch has terminated with a prime, their factor tree is complete! Complete the activity again with new values and even try some large values (like 128 or 164) and discuss the trees together. Some key takeaways are:
Every counting number (positive integer) has a prime factorization.
Every prime factorization is unique - no matter how we build our tree, the flowers will be the same.
Knowing how to "build" a number or what a number is made of is powerful! For more on this, explore Marco the Great and the History of Numberville and The Kryptografima.

Looking for an alternative way to practice? Have students build their own number by first designing their tree. Students begin by placing flowers and multiplying to determine what "tree" they have created. Add in the final value to the stump upon completion. For example, if I want my tree to have two 7 flowers, three 5 flowers, one 3 flower, and two 2 flowers, we can build this tree first, then multiply to find 7×7×5×5×5×3×2×2=73,500! This is a great opportunity to build more multiplication skills as students will find pairing 5's and 2's will make for easier multiplication. Rather than computing 7×7×5×5×5×3×2×2, they may find (7×5)×(7×3)×(5×2)×(5×2) to lower the difficulty, as this becomes 35×21×10×10. Students can use Napier's Bones or skills previously discussed in MathBait™ Multiplication to find 35×21 (for instance, one good method is the distributive property, as 35×21=35×(20+1)=700+35=735. They are left with 735×100=73,500.
The material on this page is copyrighted by MathBait™. Please use and enjoy it! MathBait™ provides a temporary license for Non-Commercial purposes. You are not permitted to copy, distribute, sell, or make derivative work without written permission from MathBait™.
Tell us what you think!
Click to rate this activity
